Final Project Week 16 - Testing and adding hit functionality

In previous blog posts, I finished all of the functionality that I planned to add to my system. Since then I have been working on testing, bug fixing, and adding stretch goals into my system.
Testing Weapon Setup
This week I made some presets for my system, this is mainly because having some preset weapons will allow the developers of the system to have premade weapons for them to use, this will save them time, but also help them to understand how to set up a weapon. It also helped me know what I have to improve for setting up weapons using my system.I already had an assault rifle preset that I have been using for testing throughout the development of the system, so I moved next onto creating a pistol. There were a few issues that I found from doing this. Some of the issues were from inconsistencies from the system causing confusion, and some were from lack of functionality. Most of the issues were small bugs that were easy to fix, but there were two main issues that I had to spend some time thinking of solutions and fixing.
Camera Improvements
The first issue that I found was that the gun was quite hard to see, and bringing it closer to the camera made it look stretched, this was because of the field of view of the weapon camera, I have had the system set up for how the assault rifle looks on the screen, this means that when you get a smaller weapon on the screen such as a pistol, it doesn't look right. To fix this, I have added a field of view variable to the weapon script, this will allow the user to change the field of view of the weapon camera for each individual weapon, allowing more flexibility for how their system looks.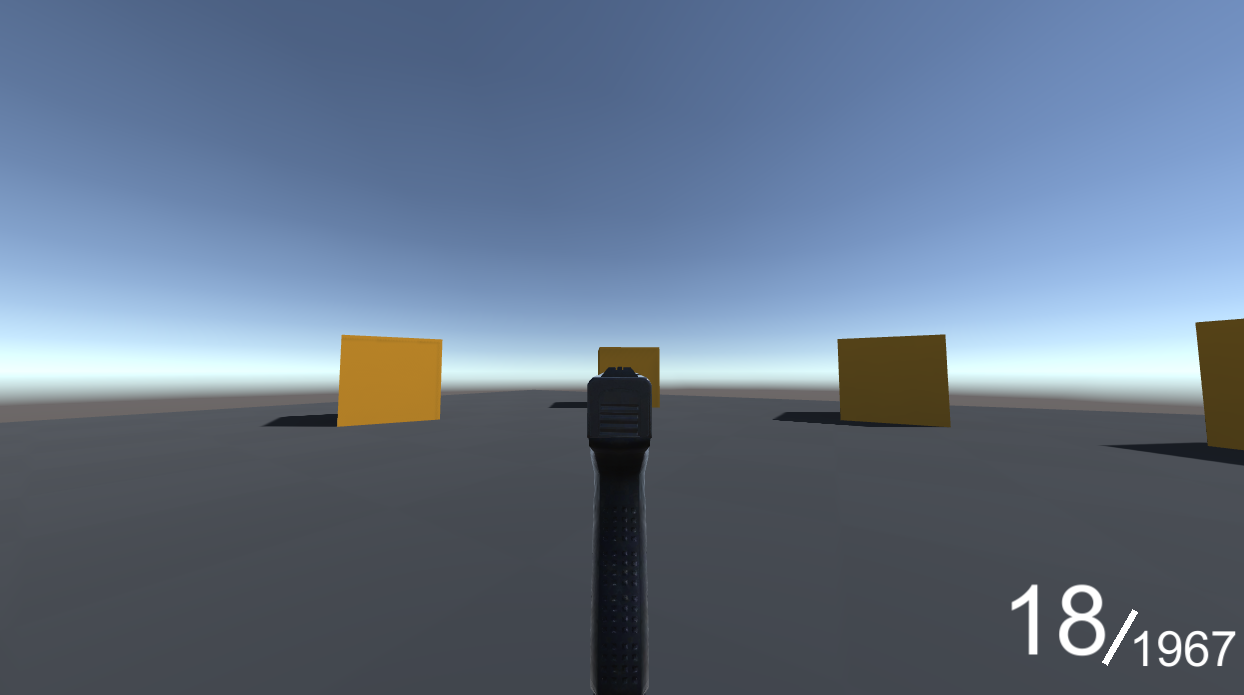 |
 |
| Default FOV | Customised FOV |
Dynamic Bolt Improvement
The second issue that I found was related to the dynamic bolt system, the model that I used for my new preset was rotated relative to the weapon system, I had planned for this, so everything worked as it should except for the bolt, I had created the functionality for the dynamic bolt using the assault rifle model that I have been using for testing. To create a simpler editor for the developer, I limited the movement of the bolt to 1 axis, this was good for the model I was using, but for other models, it can cause problems, either because the model was created differently, or because the bolt works differently, an example of this is a sci-fi weapon that might have a bolt that goes up and down. The fix for this was very simple, the system now gives the developer the ability to set all 3 axes, rather than just the z-axis. |
 |
| Single Axis Customisation leads to incorrect bolt movement | 3 Axis customisation allows correct movement |
Custom Hit Functionality
For the duration of my project, the hit functionality has been handled within the weapon system script, I was expecting the system to be used by developers going into the code and implementing the shots themselves. This is an issue because I have been trying to keep the system as simple as possible to try and keep developers from having to touch the code. That being said, it is very hard to create functionality like this without the developer having to touch the code. Because of this, I have created a more controlled way for the developer to code the functionality of shots hitting.I don't want the developers to have to go through my systems code because it is very long and quite confusing if you don't know what you're looking for. I have created a weapon system interaction script that allows developers to link a function from another script. This function will be called whenever there is a hit from the weapon system. the script can see the hits that have happened that frame so that it can decide what to do with them.
I have created a test script with a function that does what my system has done for all of my project, leave a bullet hole where the shot lands, but I could easily adjust the code in my test script to have it destroy the object it hits or apply damage if I had enemies or objects that could do that.
The system will also fall back onto that same piece of code to create bullet holes if there is no interaction script detected. This is only really to tell the developer that the system is working if they try to test it before adding their own code.
Exporting the package
The last thing to do before finishing my project is to export it for use in another system. I have reorganised all of the folders to be more easily navigatable, I have also made sure that my testing scene is presentable so that developers are able to open it and have everything they need set up already. they can then choose to use this scene for their game or learn how the system works from it.
I chose to export it as a unity package, this is a very good way to share systems with other projects because it can be downloaded as a single file, then unpacked into a project. Doing this is very simple, when I started the project last year it required downloading a whole exporter package from the unity asset store, however, now it is built into Unity and only requires you to right click a folder and choose 'export package'.
I have also included a setup guide text file into the package so that any instructions for setup can be given to the developer.
This is the last post I will write about new developments in this project. However, The next post I write will be a post mortem of the whole project where I will talk about what I have done, what I would do differently and how I will continue this project in the future.
The GitHub for this project is available here: https://github.com/ElliotChester/Modular-Weapon-System-Final-Project
Comments
Post a Comment